1. Navigate to https://app.smartreply.io/dashboard/integrate
2. Click "Configure"

3. Click "Login with Facebook"

4. Click "Continue"

5. Click "Get started"

6. Type "SmartReply"
Tip: Tip! The business name here is what will be used on the WhatsApp Account and it must match
7. Double-click here.

8. Click "Next"

9. Click "Choose a WhatsApp Business Account"

10. Click "Create a WhatsApp Business Account"

Tip: Tip! The business name here should match the business name from the previous step
11. Click "(GMT-07:00) America/Los Angeles"

12. Click "Next"

13. Click Your page to grant access

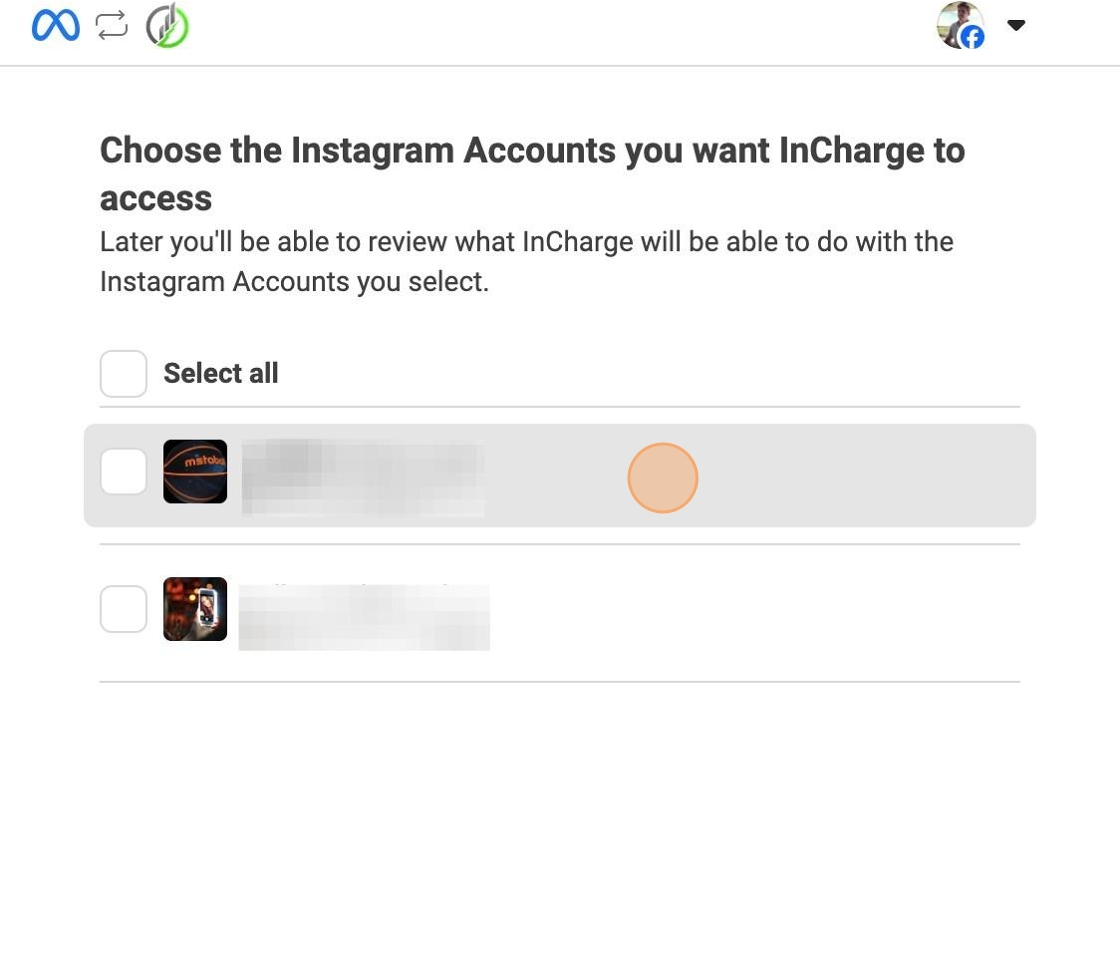
14. Click "Continue"

15. Click your Instagram Account if you have one connected
16. Click "Continue"
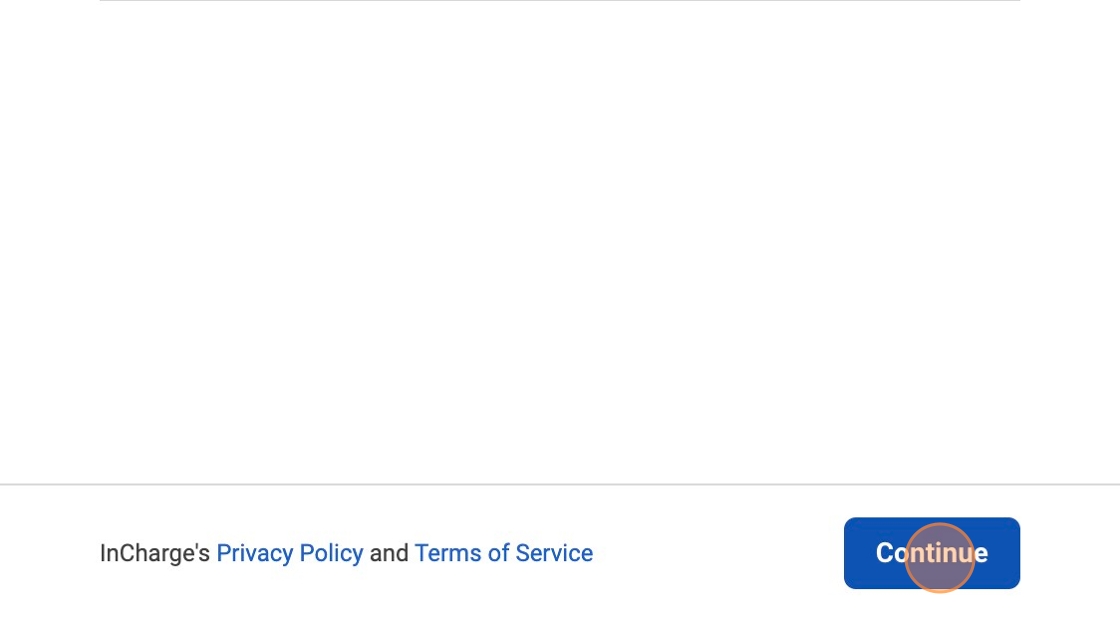
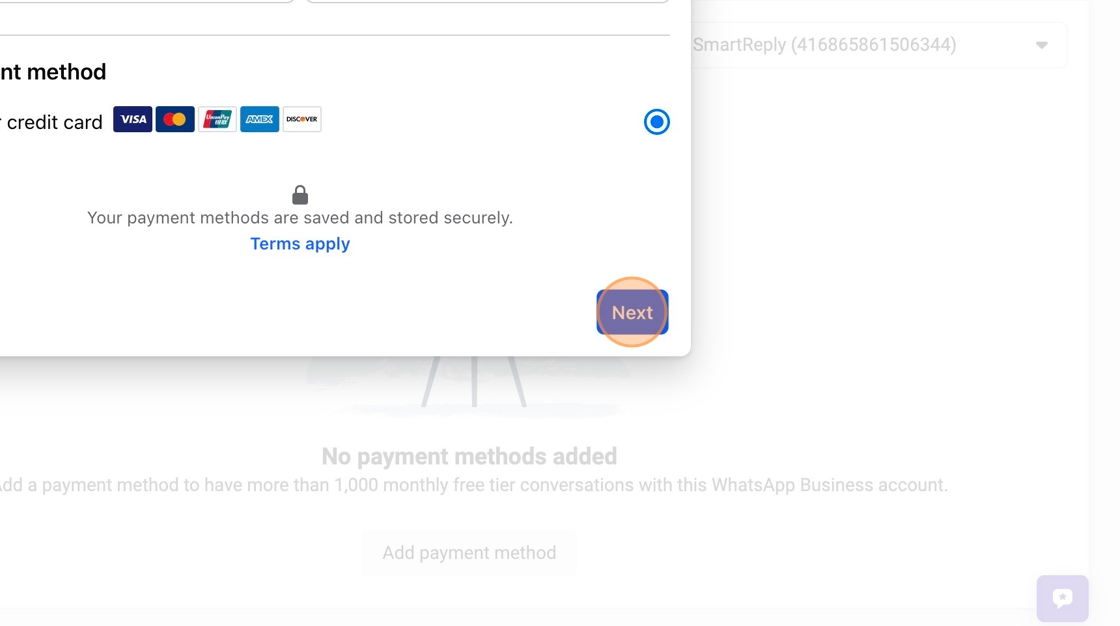
17. Click "Continue"

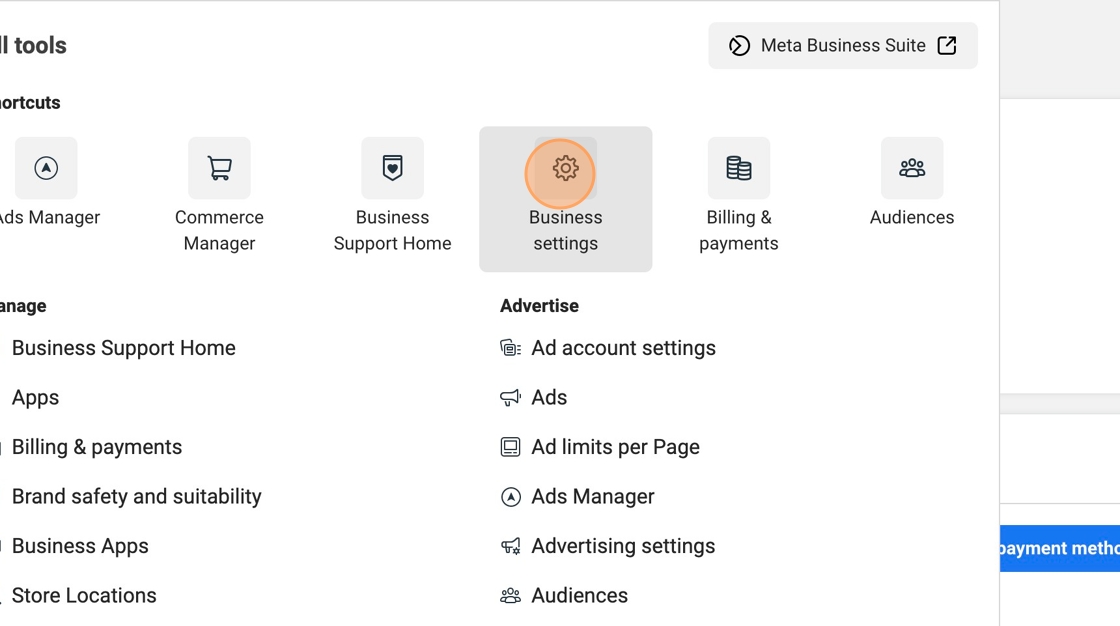
18. Click "Add payment method"

Tip: Tip! WhatsApp Business allows 1000 free messages per month, you are not charged unless you send more than 1000.
19. Click here.
20. Click here.

21. Click "Assign people"
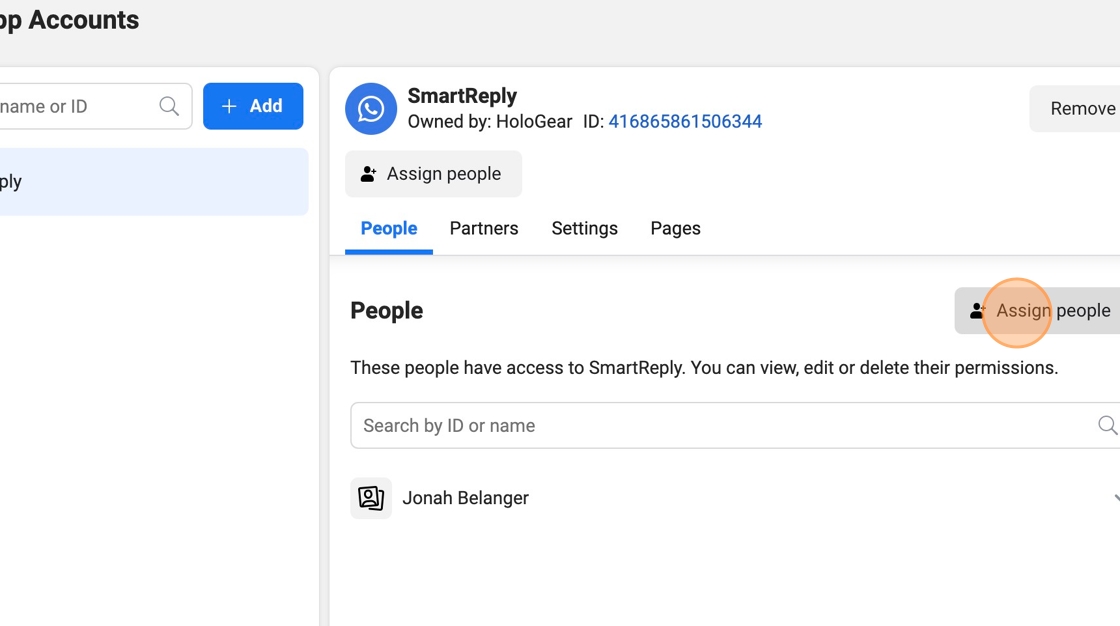
22. Click yourself

23. Click "SmartReply"

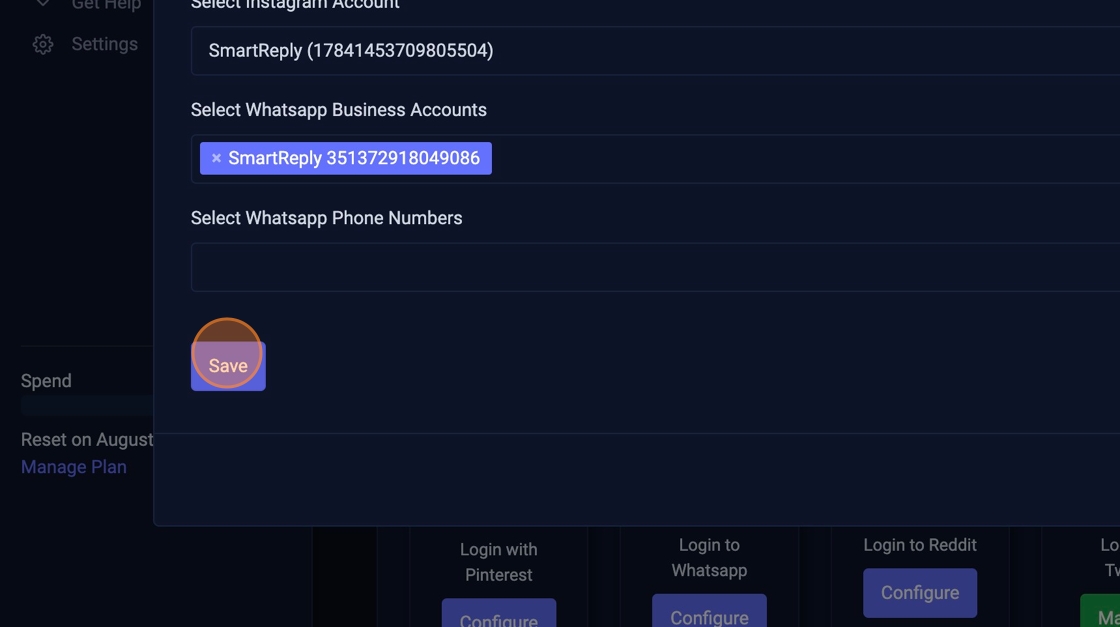
24. Click the "Manage WhatsApp business accounts" field. then click save

Next click the menu icon and head to Billing and Payments
25. Click here.

Tip: Tip! Ensure you click the WhatsApp Business Accounts Tab and not Ad accounts
26. Click "WhatsApp Business accounts"

27. Click "Add"

28. Click "Next"
29. Click the "Name on card" field.

30. Type "4400663253774635082660610"
31. Click "Done"

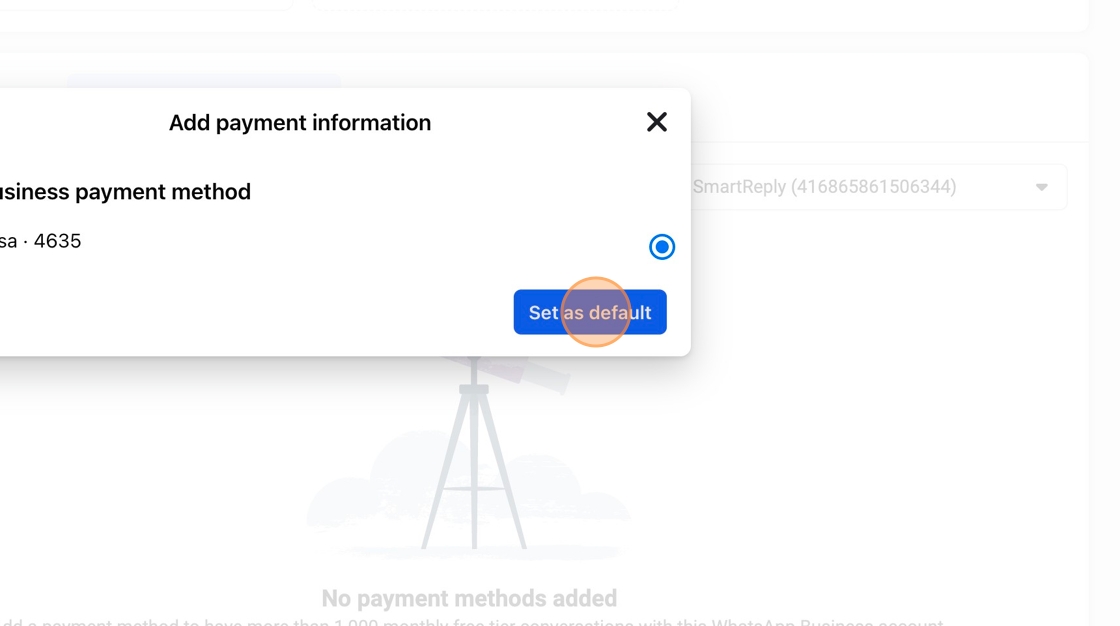
After adding a business payment method you need to add it to your WhatsApp Account
32. Click "Add payment method"

33. Click "Next"

34. Select the business payment method from previous step not new credit card

35. Click "Next"

36. Click "Set as default"
37. Fill out the business information

38. Click "Save"

Now head back to SmartReply
Tip: Tip! If something is ever not showing up and you think it should be try refreshing the screen
39. Click on the new account created

40. Add your business manager and other fields

41. Click "Save"
42. Click "OK"

Next lets add a new phone number
Tip: Tip! Meta prefers new phone numbers to be used for WhatsApp business accounts, so we have added in a way to do this easily. You can repeat this up to 10 times a day and have as many phone numbers connected as you would like. You can also create additional WhatsApp business accounts.
43. Click "Purchase a Phone Number"

44. Click "Checkout with Stripe"
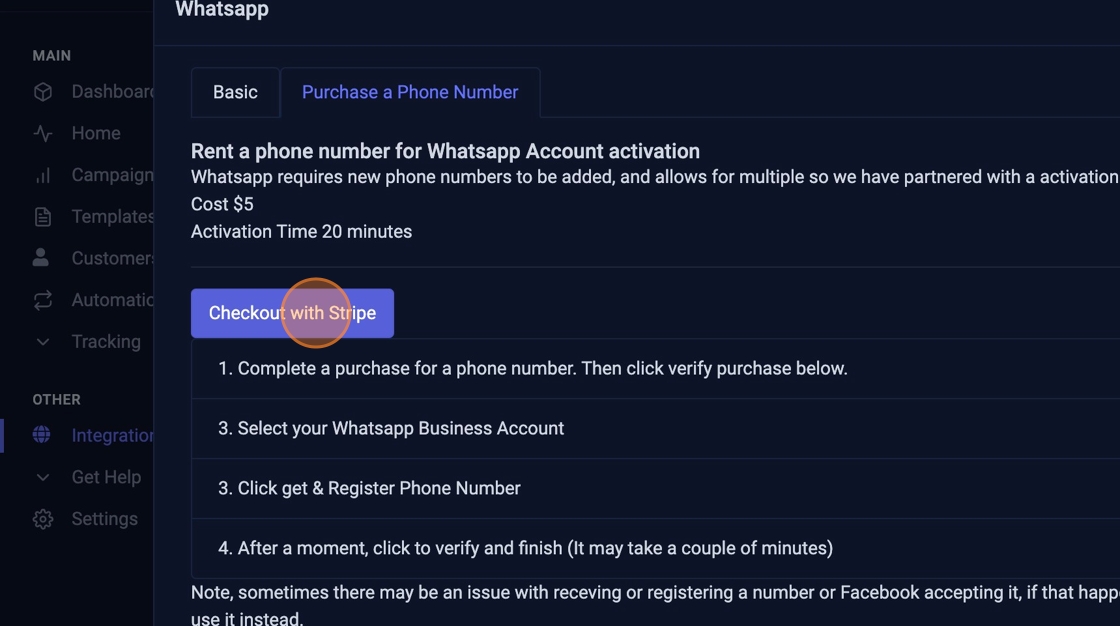
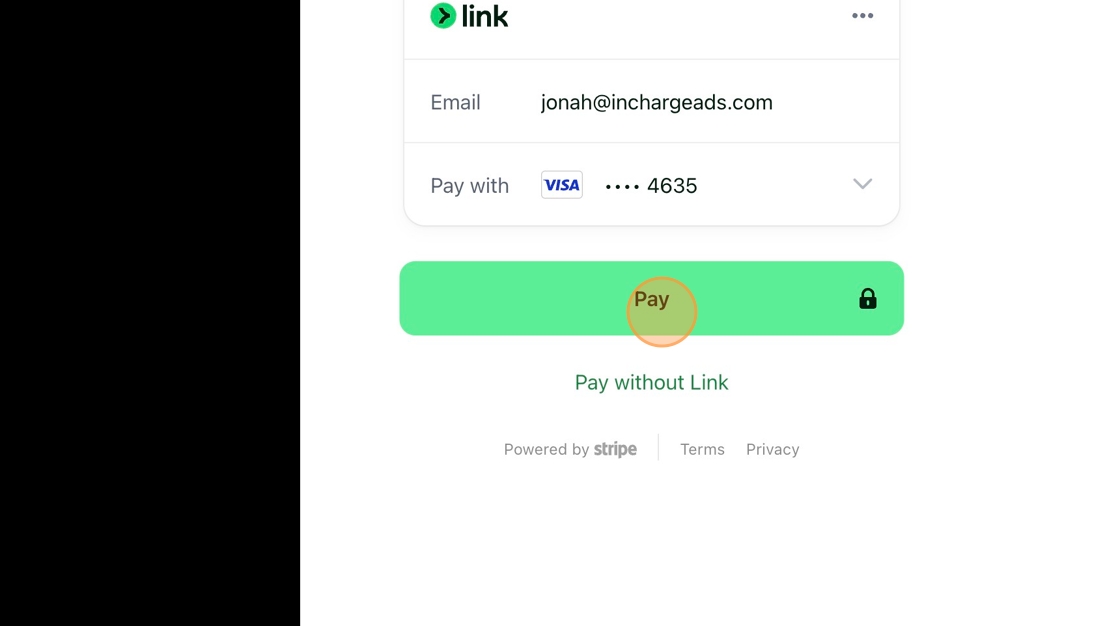
45. Click here. to pay $5 for a phone number
46. Click "Manage"

47. Click "Purchase a Phone Number"

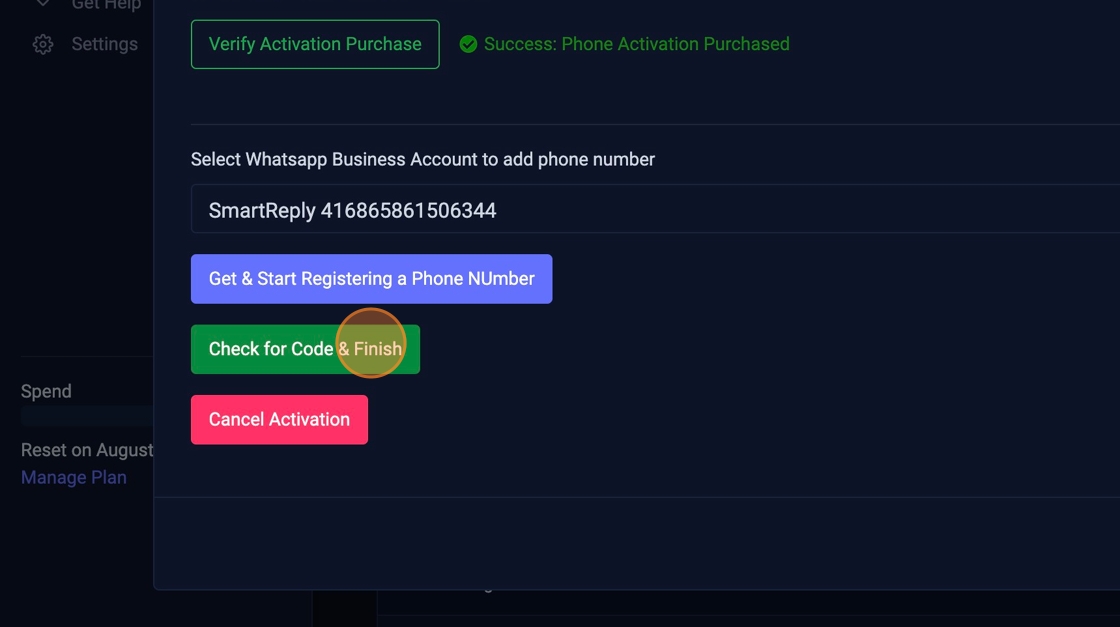
48. Click "Verify Activation Purchase"

49. Click this dropdown.

50. Click "Get & Start Registering a Phone NUmber"

51. Click "OK"
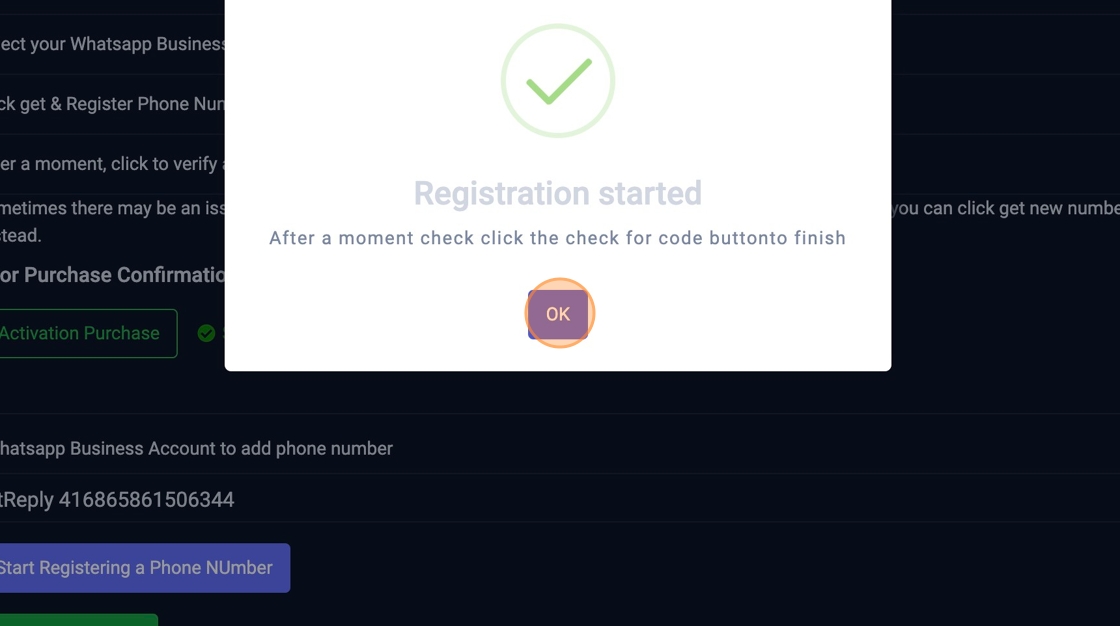
52. Wait 20-30 seconds and then click "Check for Code & Finish"
53. Click "OK"

54. Click "Basic"

55. Click here.

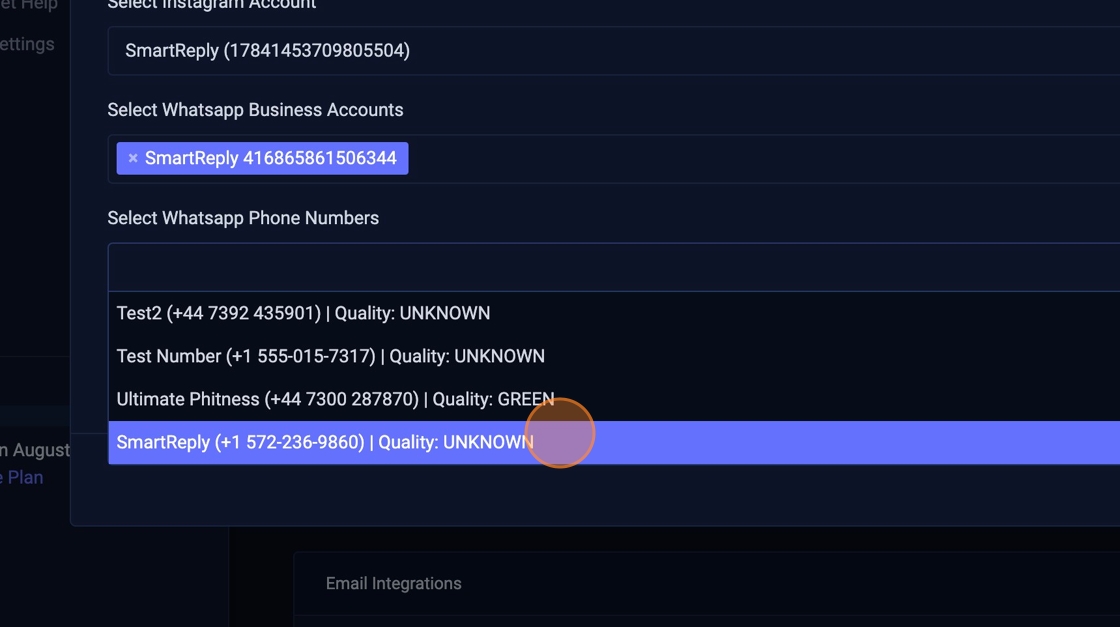
56. Click the new phone number you just created
57. Click "Save"

58. Click "OK"

59. Click "Manage"

60. Click "Refresh"

61. Click here.

62. Click here.

63. Click "Continue"

64. Click "Continue"

65. Click "Save"

66. Click "Got it"

67. Click "OK"

Adding a profile image in business manager
68. Click "Settings" in WhatsApp Account Settings

69. Click "WhatsApp Manager"

70. Click your new phone number

71. Click here.

72. Click "Choose file"

73. Click "Save"

74. Click "Done"

75. Switch to tab "SmartReply"
Almost finished, now lets activate the WhatsApp webhooks
76. Click "Settings"

77. Click "Activate SmartReply"
