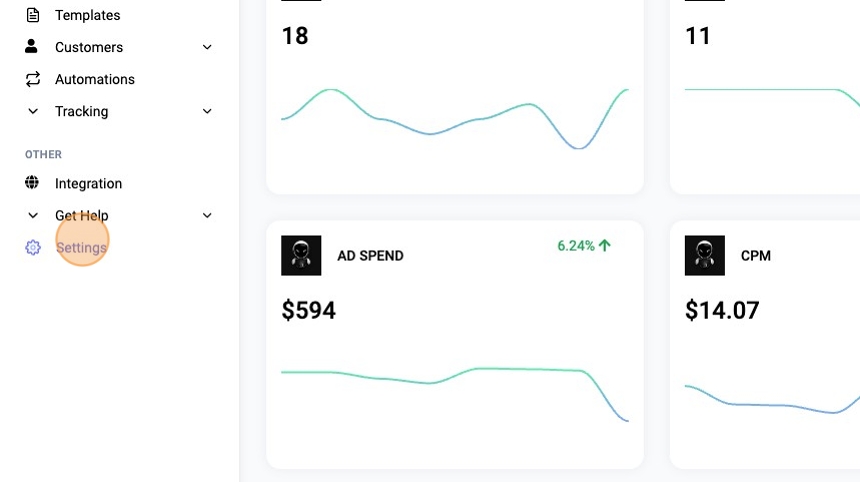
1. Click "Settings"
2. Click "Additional Website Settings" under AI Comment Settings

3. Click "Open Comment Selector"

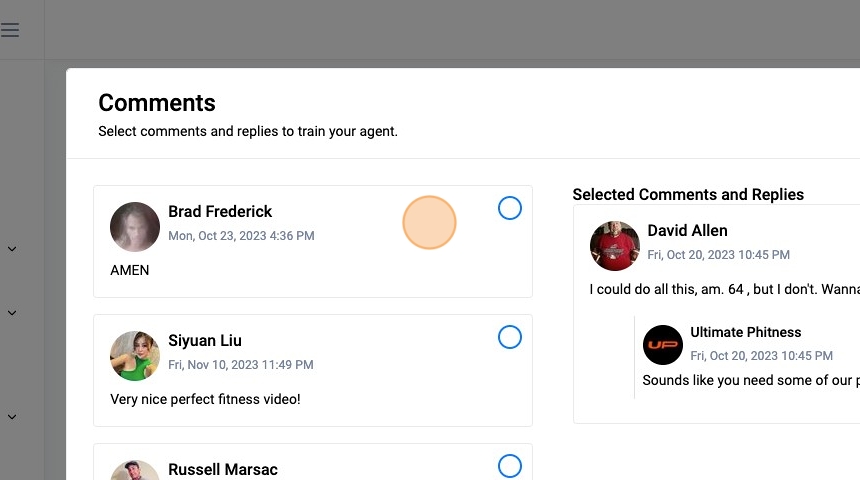
4. Click on an ad to load the comments for selection

Tip: Tip! After selecting a comment, you will see an option to type a custom reply example
5. Click on a comment then either click on a reply or add a manual one

6. Click "Add Custom Reply"

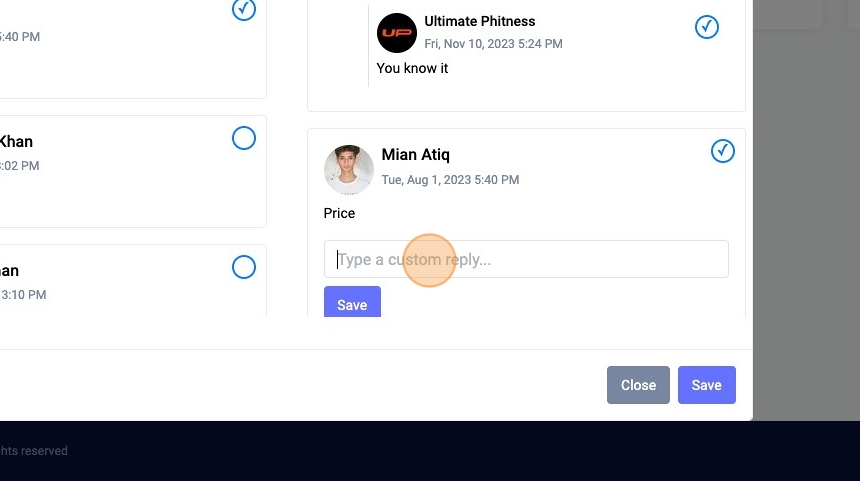
7. Click the "Type a custom reply..." field.

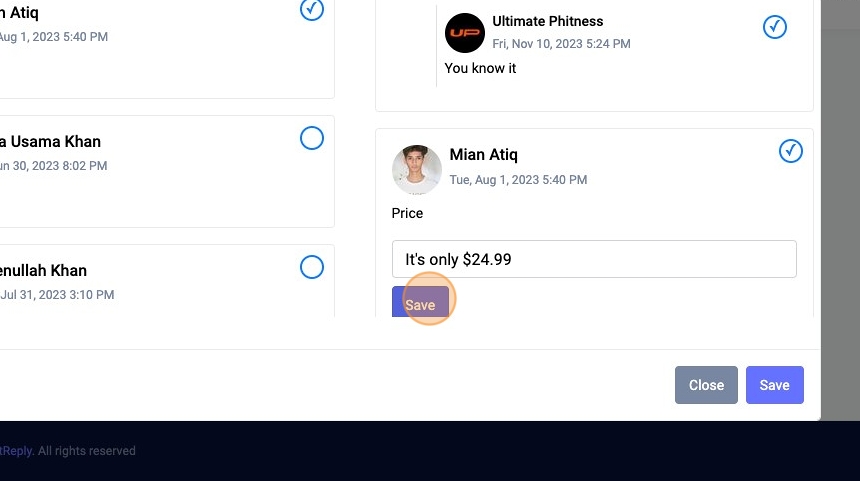
8. Type your reply
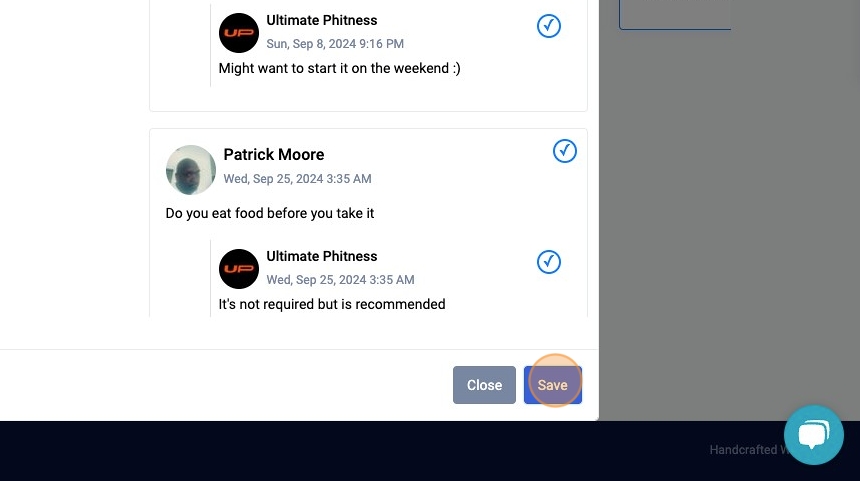
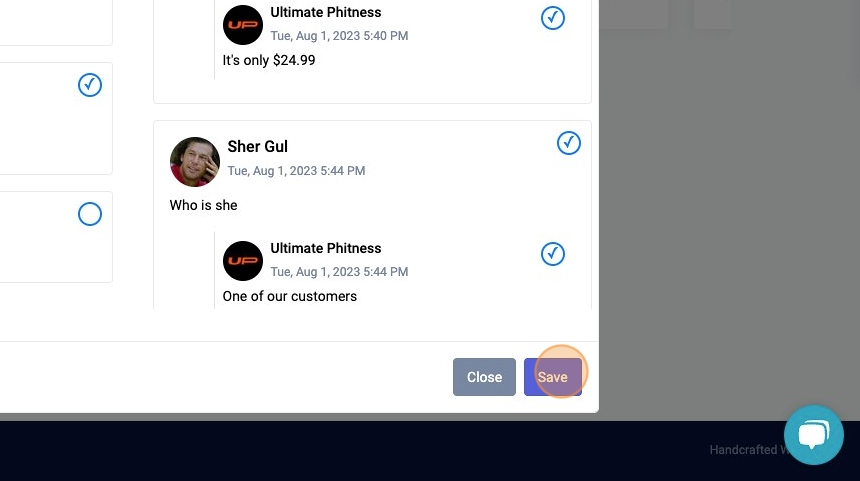
9. Click "Save"

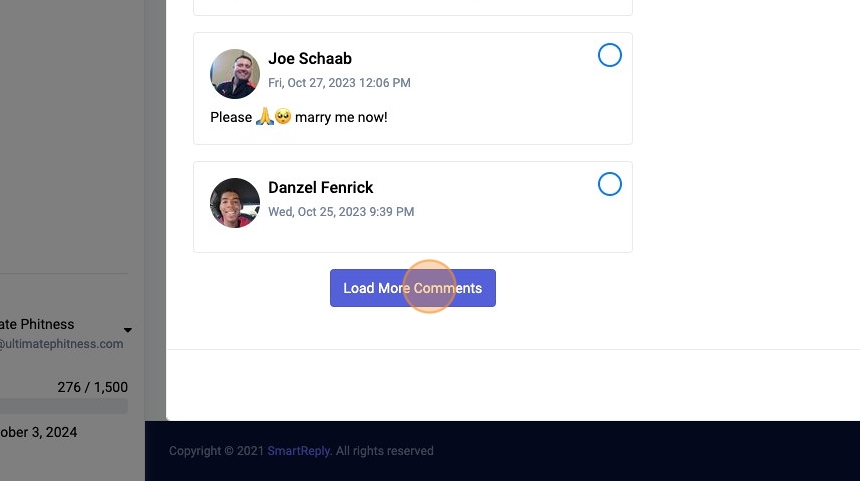
Tip: Tip! If there are more comments on your ad/post scroll to the bottom and click the "Load More Comments" button
10. Click "Load More Comments"
Additional Examples
Tip: Tip! Try to select a wide variety of comment types an examples, from generic/emoji comments to more specific examples such as price inquires
11. Click a different ad

12. Click here.
13. Click "Add Custom Reply"

14. Click the "Type a custom reply..." field.

15. Type an example reply
16. Click "Save"

17. Click "Save" to update your comment training examples
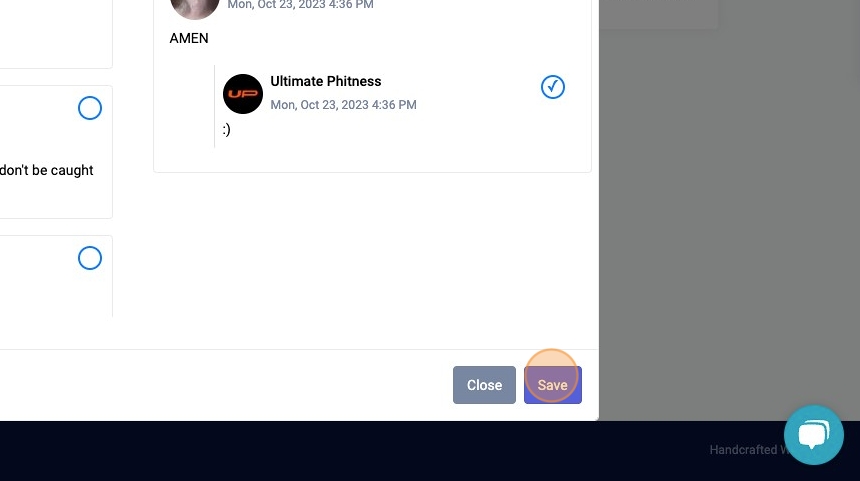
18. Example of how to reply to generic comments
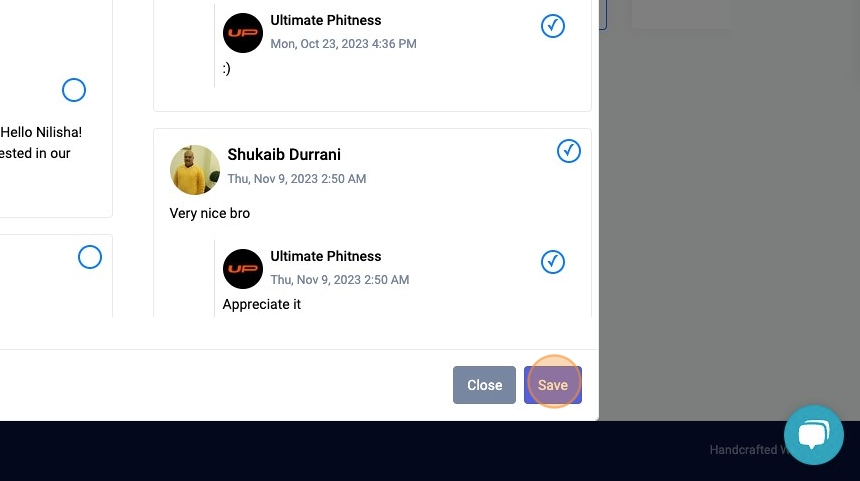
Tip: Tip! It's useful to add some examples for generic comments or emojis, so your agent will respond in a simple way such as the below
19. Click here.
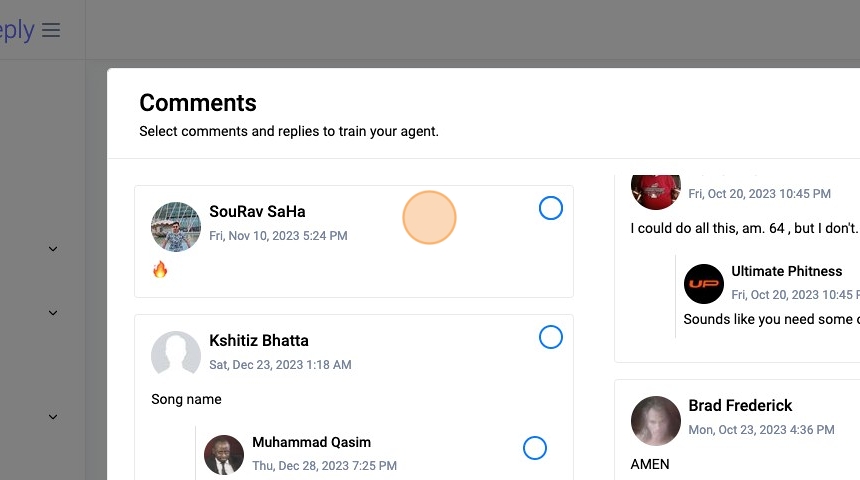
20. Click "Add Custom Reply"
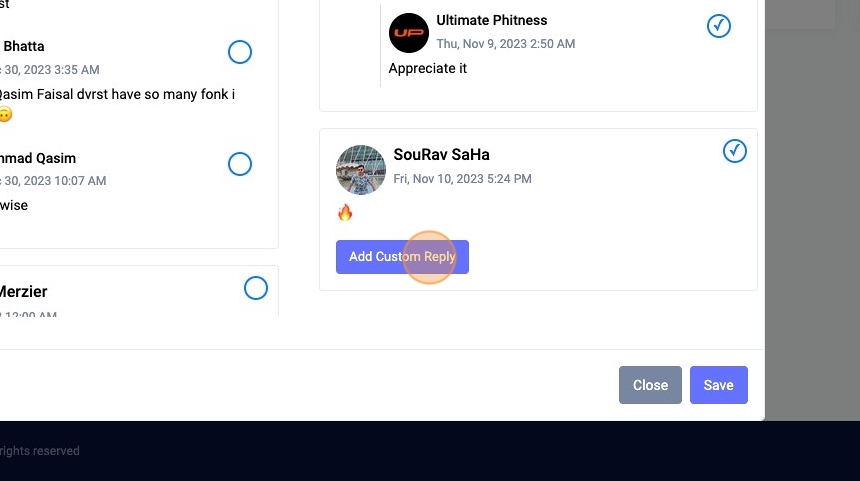
21. Click "Save"
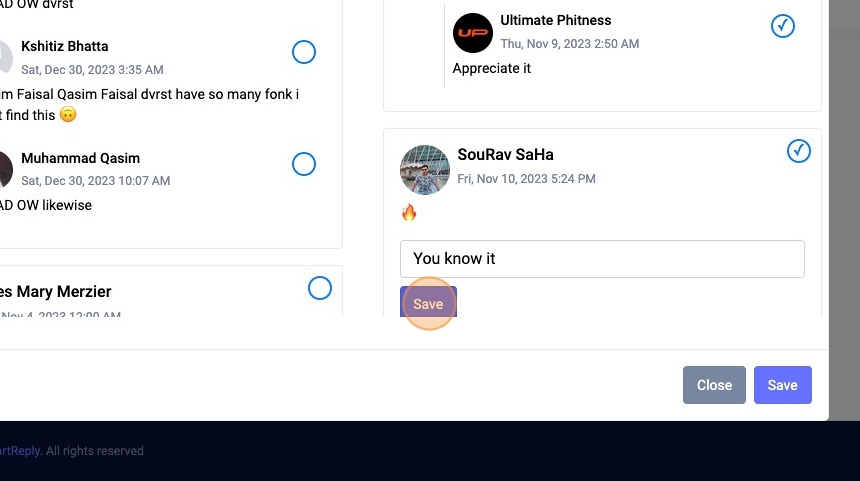
22. Click here.

23. Click "Add Custom Reply"
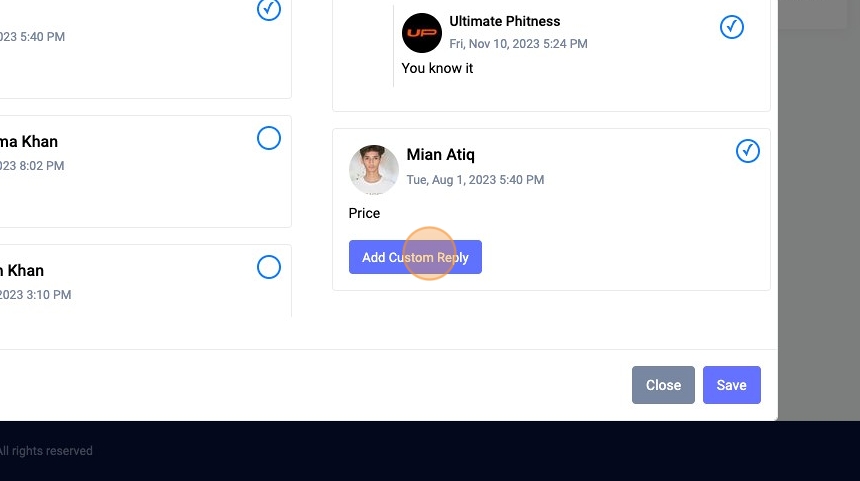
24. Click the "Type a custom reply..." field.
25. Type "It's only $24.99"
26. Click "Save"
27. Click here.

28. Click "Add Custom Reply"
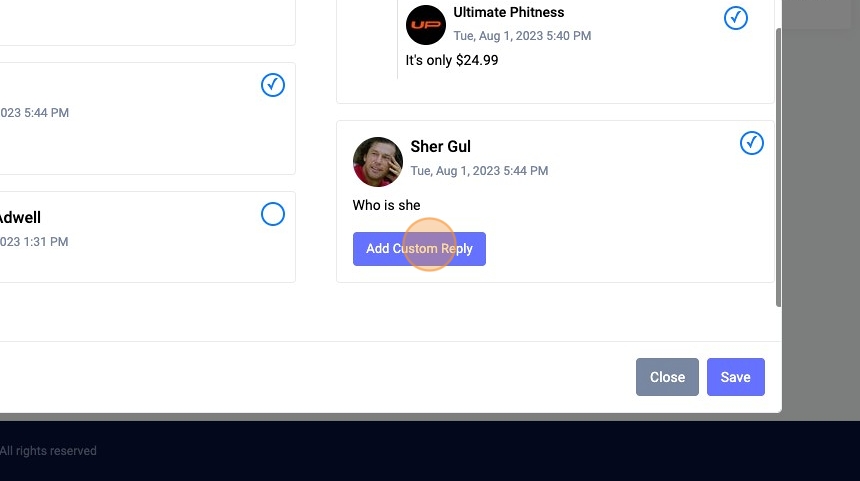
29. Click "Save"
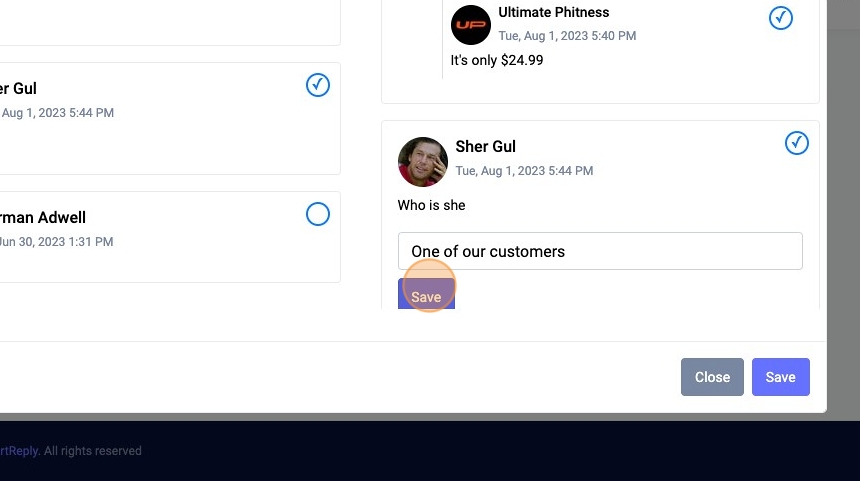
30. Click "Save"
31. Click "Organic Superfood supplements designed f... See more"
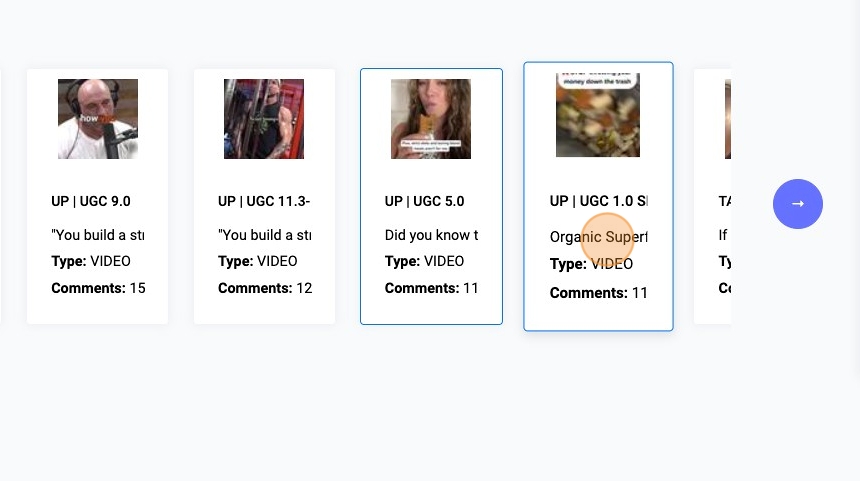
32. Click here.

33. Click here.

34. Click "Add Custom Reply"
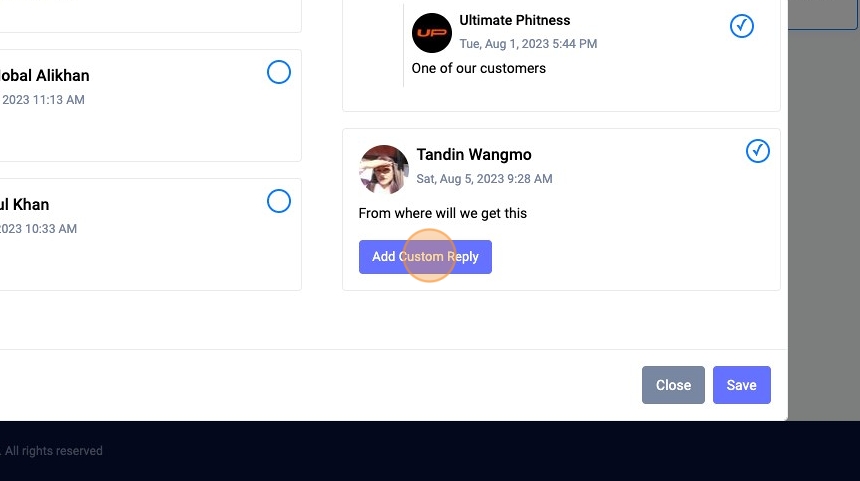
35. Click "Save"
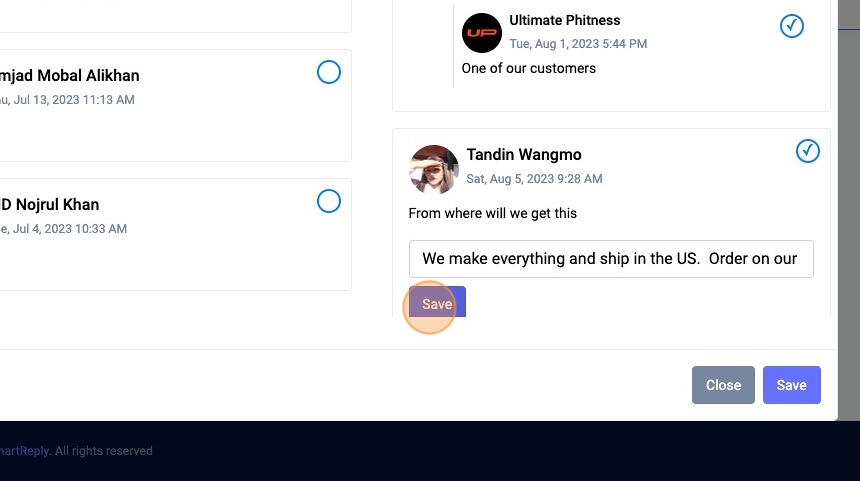
36. Click "Save"
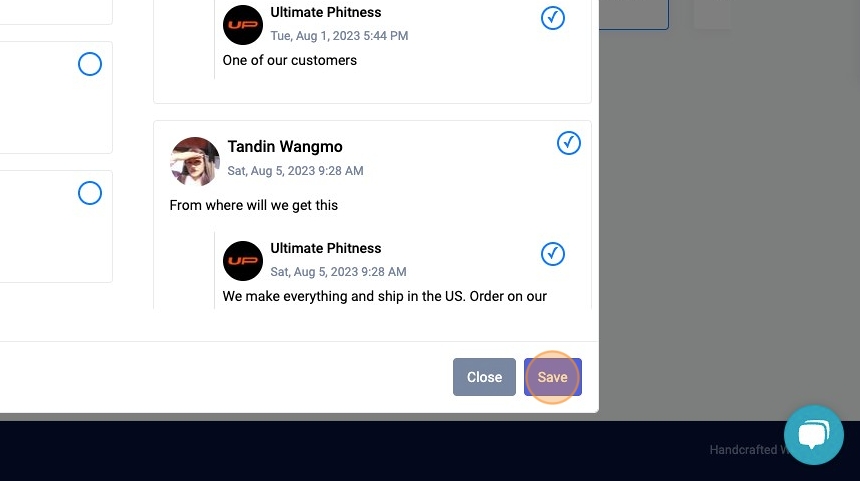
37. Click here.

38. Click "Add Custom Reply"

39. Click "Save"

40. Click here.
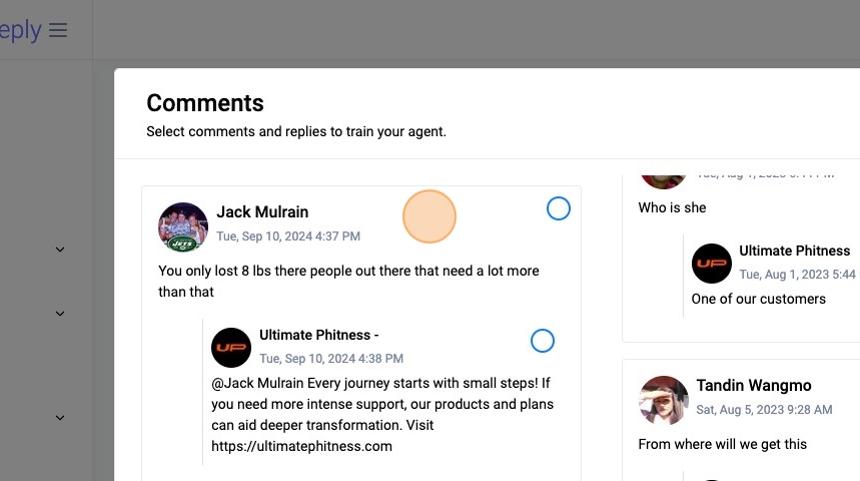
41. Click "Add Custom Reply"
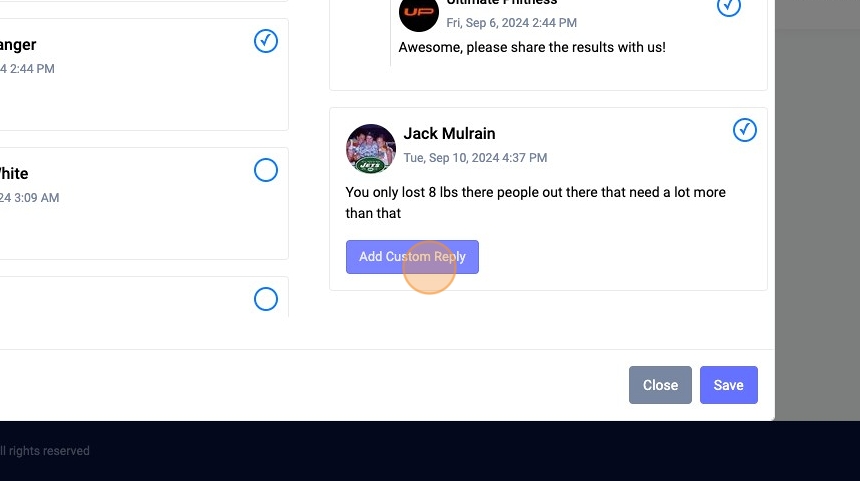
42. Click "Save"
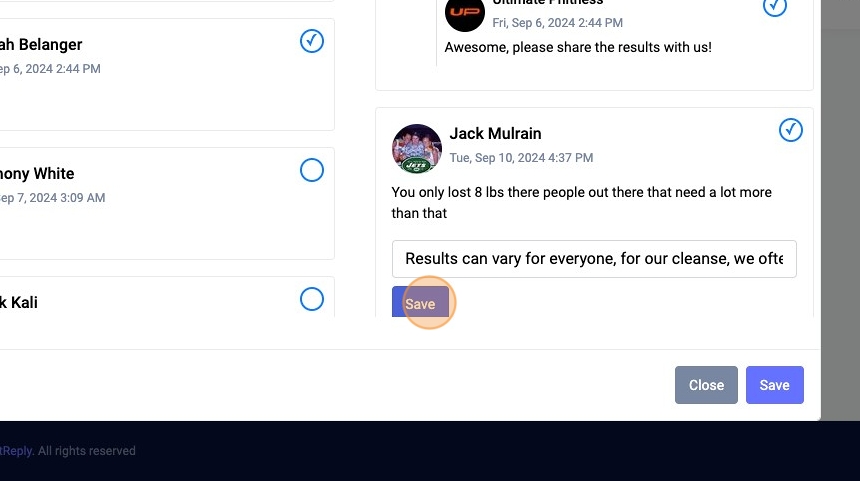
Tip: Tip! If you like the existing reply you can select it, or if you don't you can still add a custom response to improve the quality
43. Click here.

44. Click "Add Custom Reply"
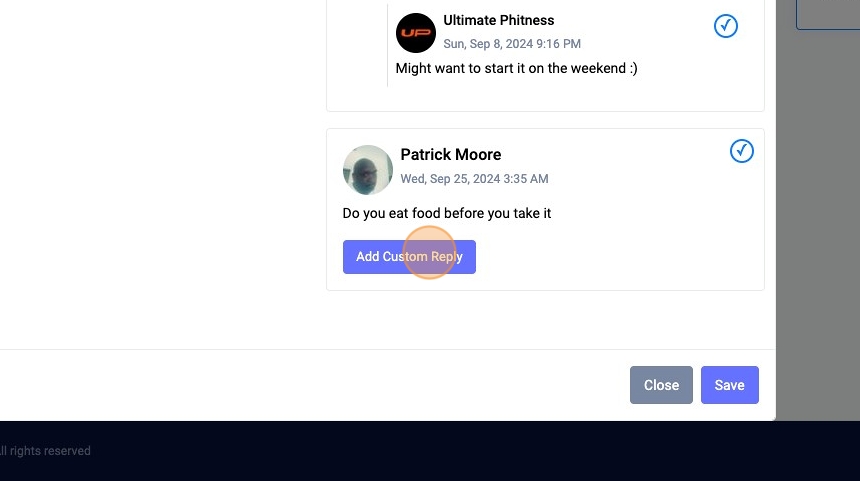
45. Click "Save"
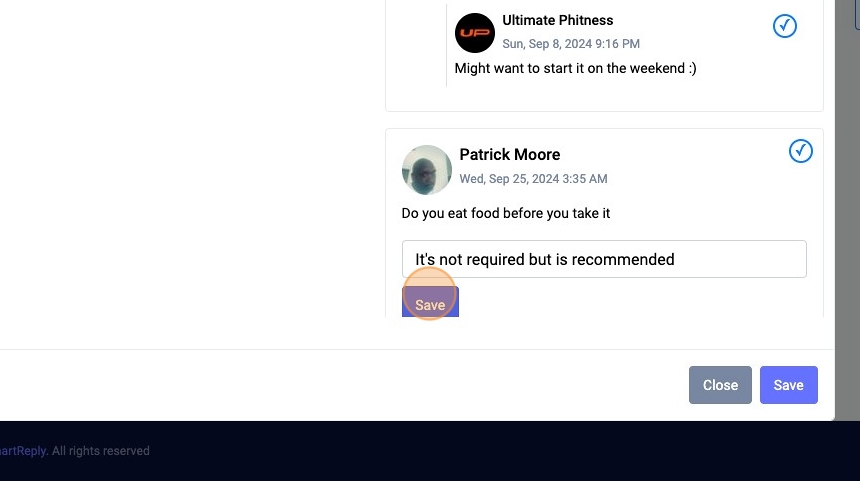
46. Click "Save"
